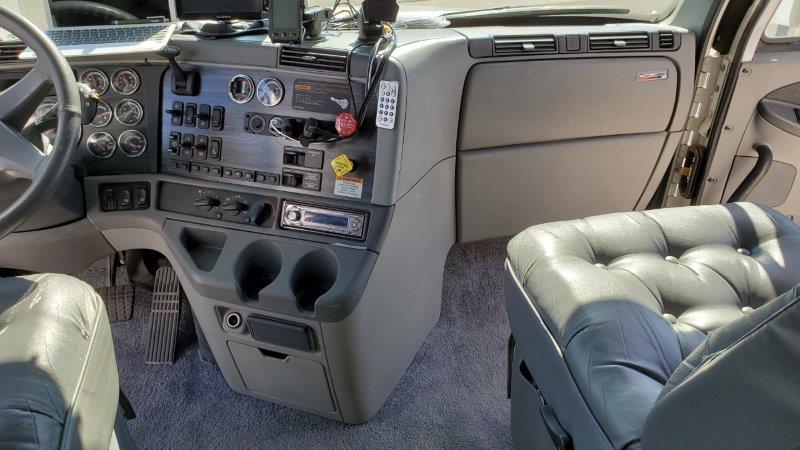
If you recall, the Goeke brothers tore apart the dashboard in the cab to find the source of an air leak. We replaced the part in Lake Havasu City, but the dash has remained apart. Until now that is!
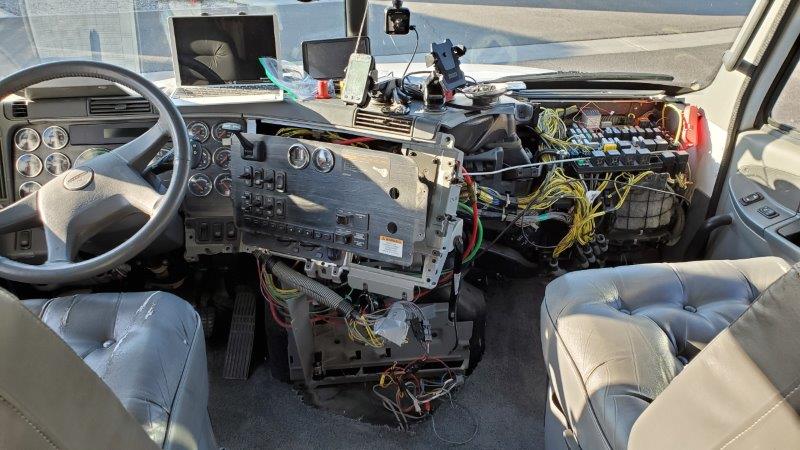
I had reached out to a group on Facebook for help in diagnosing the air leak problem. One gentleman commented that as long as the dash was apart, we should take the time to install some charging ports. The tangle of wires on the dash has been unsightly for too long now.
This project had already been on our radar, but the issue was trying to figure out where there was enough space to put charging outlets in. It is hard to do looking at the dash from the outside. But, once we had it apart the task got much easier. We are not sure the project would ever have been started if the need to disassemble the dash had not been forced upon us.
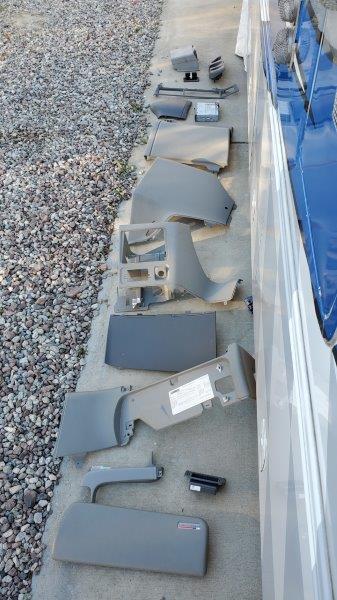
First we had to gather parts. One of the smaller pieces had been broken when someone else (before us!) had worked on the dash. They had put a screw through the broken piece (Jim always wondered why there was one screw visible) and -glued- it to another dash piece to hold in in place. Luckily the glue broke easily. So we had to find a Freightliner dealer to get a replacement part from. The easiest solution was to have the Freightliner dealer back home get the part, have our friend Mary Ellen pick it up and send it out with the next shipment of mail. Thanks (again) Mary Ellen!
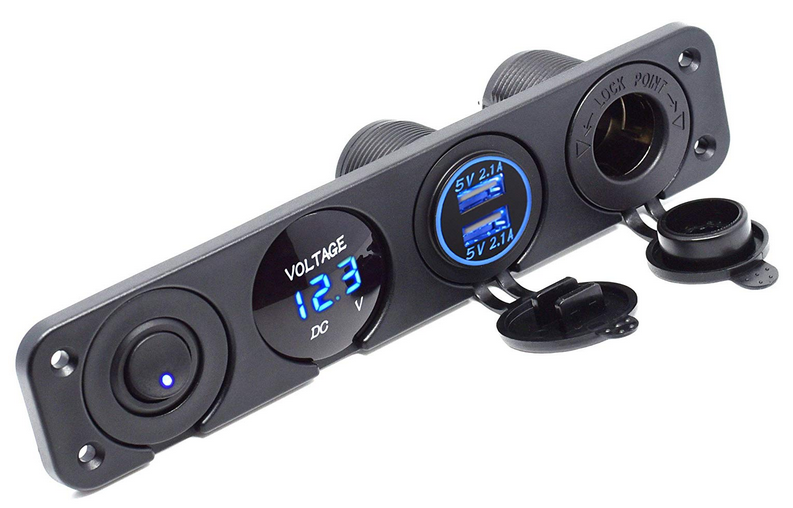
Poking around on Amazon, we discovered charging panels made mainly for the marine industry (i.e. boats).
We are parked in Indio, California for a week or so (see a previous post on this RV Resort we really like), so we started placing Amazon orders since we had an address to ship to!
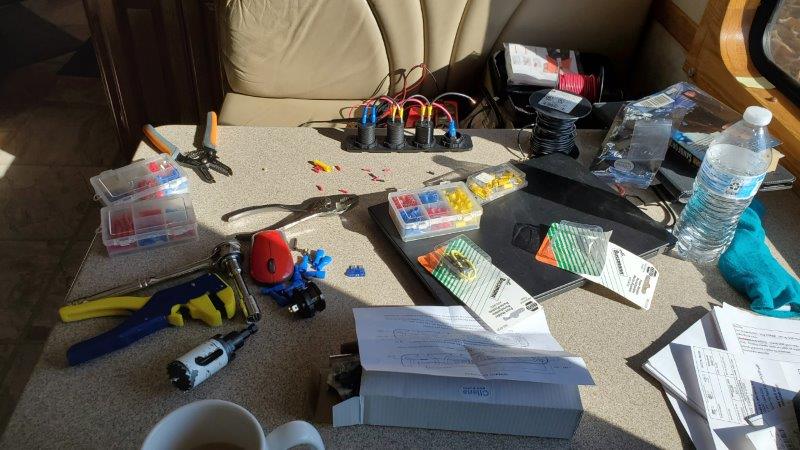
Let the install begin!
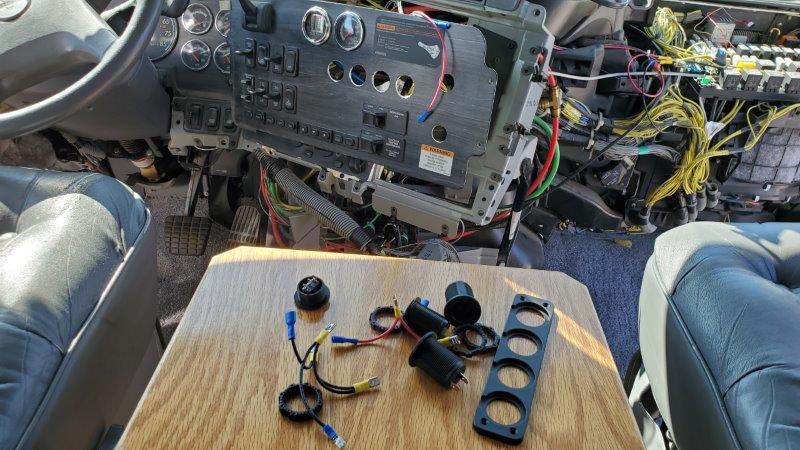
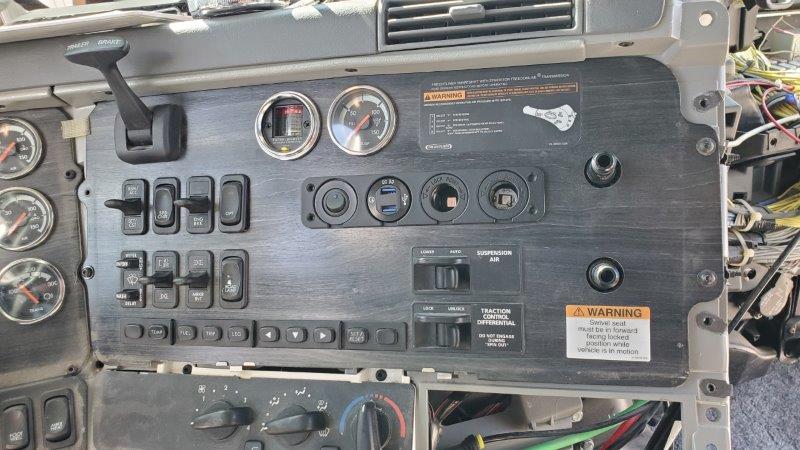
Putting the dash back together was a bit like assembling a puzzle. Jim had made a few notes during the tear down. After (quite) a few hours, he had it all reassembled.
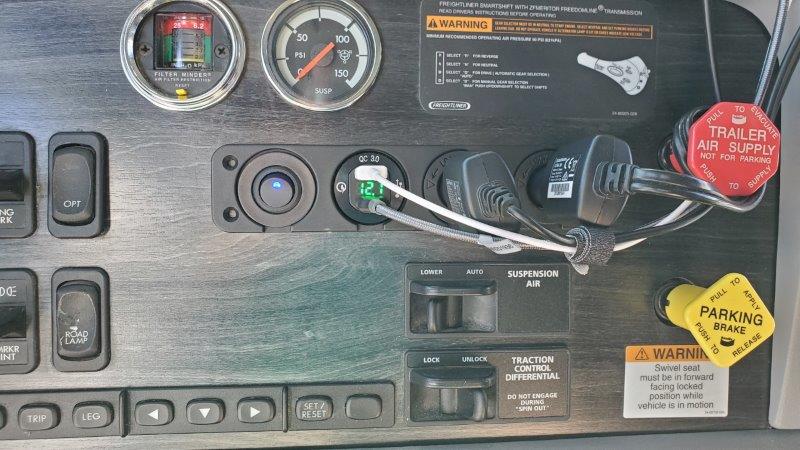
– ON/OFF switch
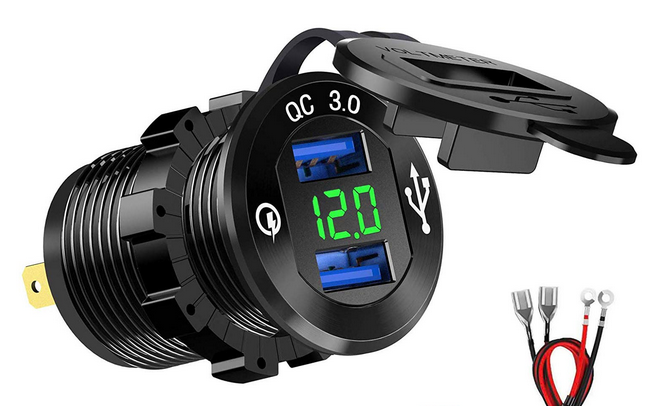
– a combination USB QC 3.0 fast charger (2 of them) and voltage meter
– two 12 volt outlets for the GPS and dashcam
This was a heck of a lot of work for some charging ports. If the dash hadn’t already been apart, it would have taken some convincing to do this upgrade. But hey, when life gives you lemons (broken air switch), make lemonade (install charging ports)!
Lordy Pete — you two do like a challenge!!!! I now am a believer — there isn’t anything that you can’t do 🙂
We can almost do it all. 😉 TV installs, charging port installs, etc. I married a pretty handy guy!